Journals: Analyzing User support for Blazor WASM


This article is to document and attempt to reverse-engineer how the Blazor WASM implement the User support, such as Register, Login, Logout in its templates.
Template Setup
The Template to study on is the Blazor WebAssembly Standalone App with the following configurations:
Framework: .NET 7.0
Authentication Type: Individual Accounts
Progressive Web Application
ASP.NET Core Hosted
Server Side
The Server Side has the nuget packages installed:
<PackageReference Include="Microsoft.AspNetCore.Diagnostics.EntityFrameworkCore" Version="7.0.16" />
<PackageReference Include="Microsoft.AspNetCore.Identity.EntityFrameworkCore" Version="7.0.16" />
<PackageReference Include="Microsoft.AspNetCore.Identity.UI" Version="7.0.16" />
<PackageReference Include="Microsoft.AspNetCore.ApiAuthorization.IdentityServer" Version="7.0.16" />
<PackageReference Include="Microsoft.EntityFrameworkCore.SqlServer" Version="7.0.16" />
<PackageReference Include="Microsoft.EntityFrameworkCore.Tools" Version="7.0.16" />
There is also a <UserSecretId> in the property group:
<UserSecretsId>Sample.Server-08d744c3-f677-415f-9b54-eb35089c0193</UserSecretsId>
Unable to find reference, but it is possible embedded in the Identity System.
The Server Side defines the Database via the EF Core to store the user data:
builder.Services.AddDbContext<ApplicationDbContext>(
    options =>
    options.UseSqlServer(connectionString));
builder.Services.AddDatabaseDeveloperPageExceptionFilter();
The ApplicationDbContext is an empty inheritance of ApiAuthorizationDbContext generic class:
public class ApplicationDbContext
    : ApiAuthorizationDbContext<ApplicationUser>
And the ApplicationUser is an empty inheritance of IdentityUser:
public class ApplicationUser : IdentityUser
Next the Server Side wires the Identity system with the ApplicationUser and ApplicationDbContext:
builder.Services.AddDefaultIdentity<ApplicationUser>(
        options => options.SignIn.RequireConfirmedAccount = true
    )
    .AddEntityFrameworkStores<ApplicationDbContext>();

builder.Services.AddIdentityServer()
    .AddApiAuthorization<ApplicationUser, ApplicationDbContext>();
Migration script by EF Core are also found as files 00000000000000_CreateIdentitySchema.cs, ApplicationDbContextModelSnapshot.cs.
The appsetting.json file has the necessary configuration such as the connection string and the Identity Server:
"ConnectionStrings": {
    "DefaultConnection": "Server=(localdb)\\mssqllocaldb;Database=aspnet-Sample.Server-08d744c3-f677-415f-9b54-eb35089c0193;Trusted_Connection=True;MultipleActiveResultSets=true"
  },
...
"IdentityServer": {
    "Clients": {
      "Sample.Client": {
        "Profile": "IdentityServerSPA"
      }
    }
  },
Finally, the Server Side put in default necessary services and app configurations regarding the Identity:
builder.Services.AddAuthentication()
    .AddIdentityServerJwt();
...
// For the User schema migration
app.UseMigrationsEndPoint();
...
app.UseIdentityServer();
app.UseAuthorization();
The API Controller WeatherForecastController is used as the example where it can only be used after the user logs in, so it has the [Authorize] attribute set to its signature:
[Authorize]
[ApiController]
[Route("[controller]")]
public class WeatherForecastController : ControllerBase
There is also another Controller named OidcConfigurationController, but no reference of this controller is found:
using Microsoft.AspNetCore.ApiAuthorization.IdentityServer;
using Microsoft.AspNetCore.Mvc;

namespace Sample.Server.Controllers
{
    public class OidcConfigurationController : Controller
    {
        private readonly ILogger<OidcConfigurationController> _logger;

        public OidcConfigurationController(IClientRequestParametersProvider clientRequestParametersProvider, ILogger<OidcConfigurationController> logger)
        {
            ClientRequestParametersProvider = clientRequestParametersProvider;
            _logger = logger;
        }

        public IClientRequestParametersProvider ClientRequestParametersProvider { get; }

        [HttpGet("_configuration/{clientId}")]
        public IActionResult GetClientRequestParameters([FromRoute] string clientId)
        {
            var parameters = ClientRequestParametersProvider.GetClientParameters(HttpContext, clientId);
            return Ok(parameters);
        }
    }
}
Another file at the server side is _LoginPartial.cshtml, which is also a bit confusing amd redundant when at Client side there is already LoginDisplay.razor. There is a guess that the page acts as a backup page for API users to login.
Client Side
First, the Client side has the following nuget packages installed:
<PackageReference Include="Microsoft.AspNetCore.Components.WebAssembly.Authentication" Version="7.0.16" />
<PackageReference Include="Microsoft.Extensions.Http" Version="7.0.0" />
At Client Side, the HttpClient service is added with the BaseAddressAuthorizationMessageHandler:
builder.Services.AddHttpClient(
        "Sample.ServerAPI",
        client => client.BaseAddress = new Uri(builder.HostEnvironment.BaseAddress)
    )
    .AddHttpMessageHandler<BaseAddressAuthorizationMessageHandler>();

// Supply HttpClient instances that include access tokens when making requests to the server project
builder.Services.AddScoped(sp => sp.GetRequiredService<IHttpClientFactory>().CreateClient("Sample.ServerAPI"));
The BaseAddressAuthorizationMessageHandler is provided by the Microsoft.AspNetCore.Components.WebAssembly.Authentication library, with the following Summary:
A System.Net.Http.DelegatingHandler that attaches access tokens to outgoing System.Net.Http.HttpResponseMessage instances. Access tokens will only be added when the request URI is within the application's base URI.
The Client Side finally setups the Authorization:
builder.Services.AddApiAuthorization();
To use the Authentication service, index.html puts in the AuthenticationService.js:
<script src="_content/Microsoft.AspNetCore.Components.WebAssembly.Authentication/AuthenticationService.js"></script>
To add the Login, Register, Logout buttons for the app, <LoginDisplay /> is added into the MainLayout.razor:
<div class="top-row px-4 auth">
    <LoginDisplay />
    <a href="https://docs.microsoft.com/aspnet/" target="_blank">About</a>
</div>
The <LoginDisplay /> is defined as following:
@using Microsoft.AspNetCore.Components.Authorization
@using Microsoft.AspNetCore.Components.WebAssembly.Authentication
@inject NavigationManager Navigation

<AuthorizeView>
    <Authorized>
        <a href="authentication/profile">Hello, @context.User.Identity?.Name!</a>
        <button class="nav-link btn btn-link" @onclick="BeginLogOut">Log out</button>
    </Authorized>
    <NotAuthorized>
        <a href="authentication/register">Register</a>
        <a href="authentication/login">Log in</a>
    </NotAuthorized>
</AuthorizeView>

@code{
    private void BeginLogOut()
    {
        Navigation.NavigateToLogout("authentication/logout");
    }
}
The App.razor is altered to have the <CascadingAuthenticationState> and various authorize view tags:
<CascadingAuthenticationState>
    <Router AppAssembly="@typeof(App).Assembly">
        <Found Context="routeData">
            <AuthorizeRouteView RouteData="@routeData" DefaultLayout="@typeof(MainLayout)">
                <NotAuthorized>
                    @if (context.User.Identity?.IsAuthenticated != true)
                    {
                        <RedirectToLogin />
                    }
                    else
                    {
                        <p role="alert">You are not authorized to access this resource.</p>
                    }
                </NotAuthorized>
            </AuthorizeRouteView>
            <FocusOnNavigate RouteData="@routeData" Selector="h1" />
        </Found>
        <NotFound>
            <PageTitle>Not found</PageTitle>
            <LayoutView Layout="@typeof(MainLayout)">
                <p role="alert">Sorry, there's nothing at this address.</p>
            </LayoutView>
        </NotFound>
    </Router>
</CascadingAuthenticationState>
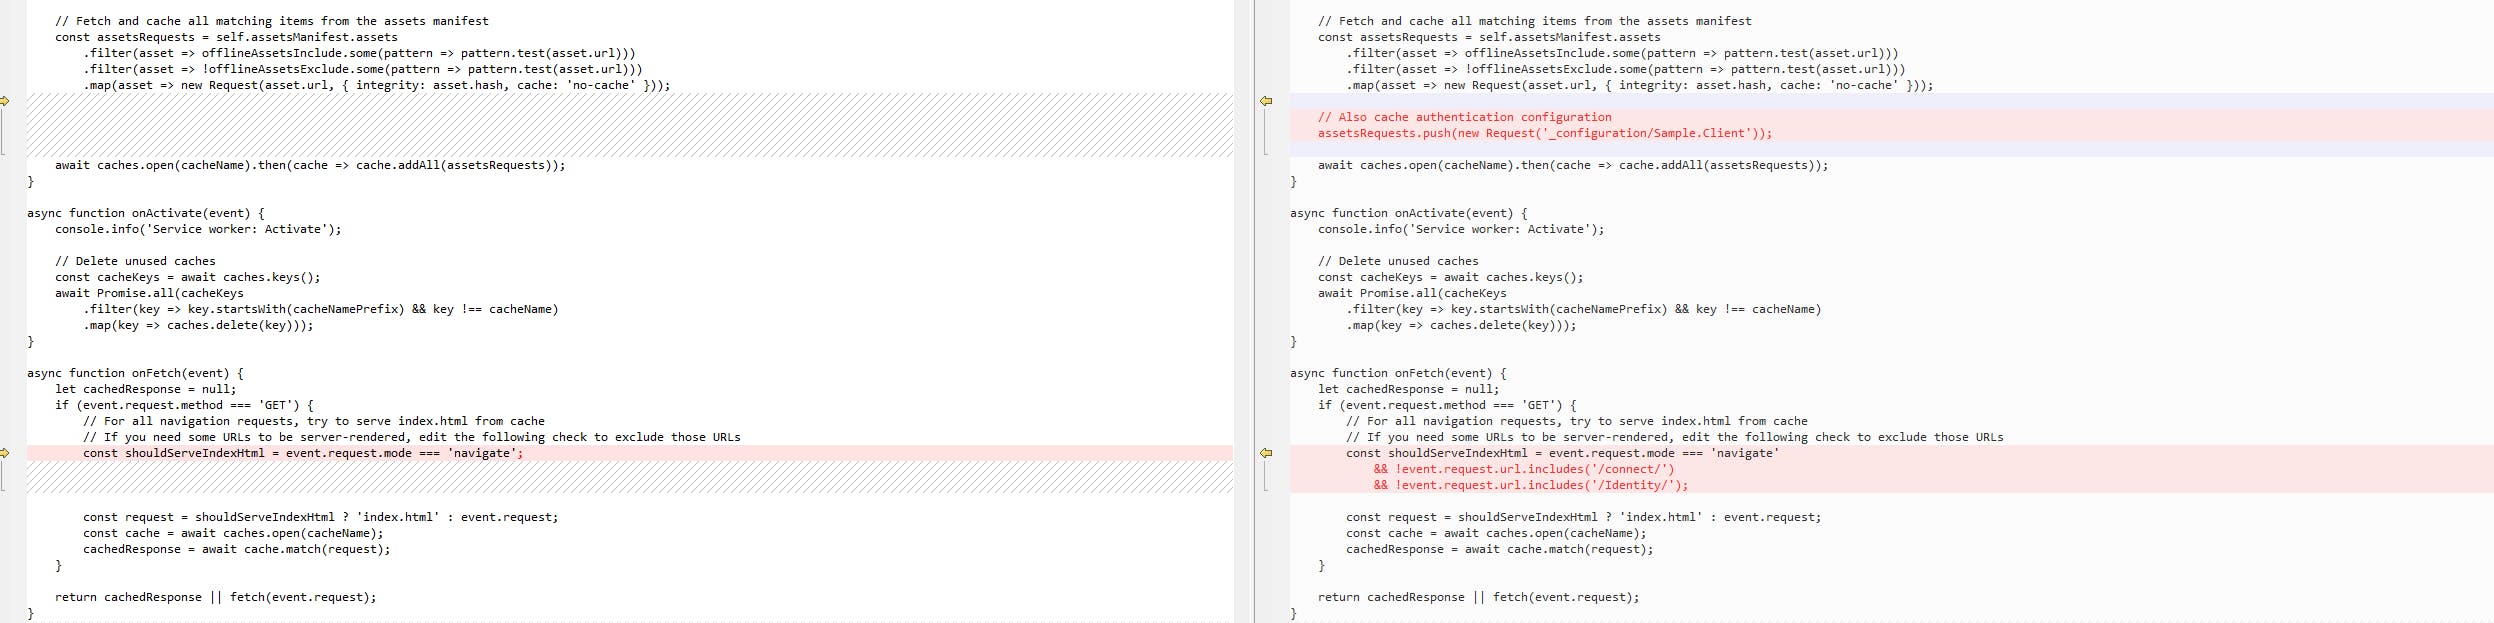
Add a few lines added into the service-worker.published.js to make the User support cached in PWA:
The Fetch Data page that uses the Weather Forecast API is equipped with the [Authorize] attribute as well:
@attribute [Authorize]
Demo
At first, as the database is not setup, attempting to go to Fetch Data page would throw 500 error:
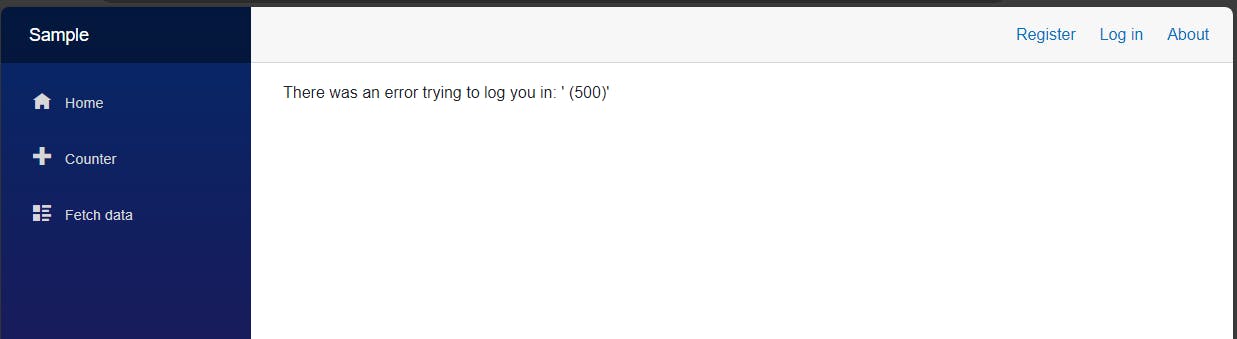
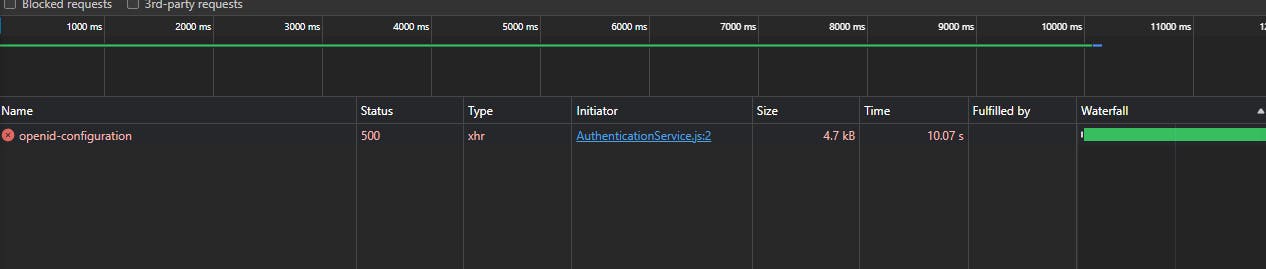
This error is thrown after 10s: Whenever accessing the Fetch Data page in this case, an Api request openid-configuration is made and responded with 500 error in 10 seconds:
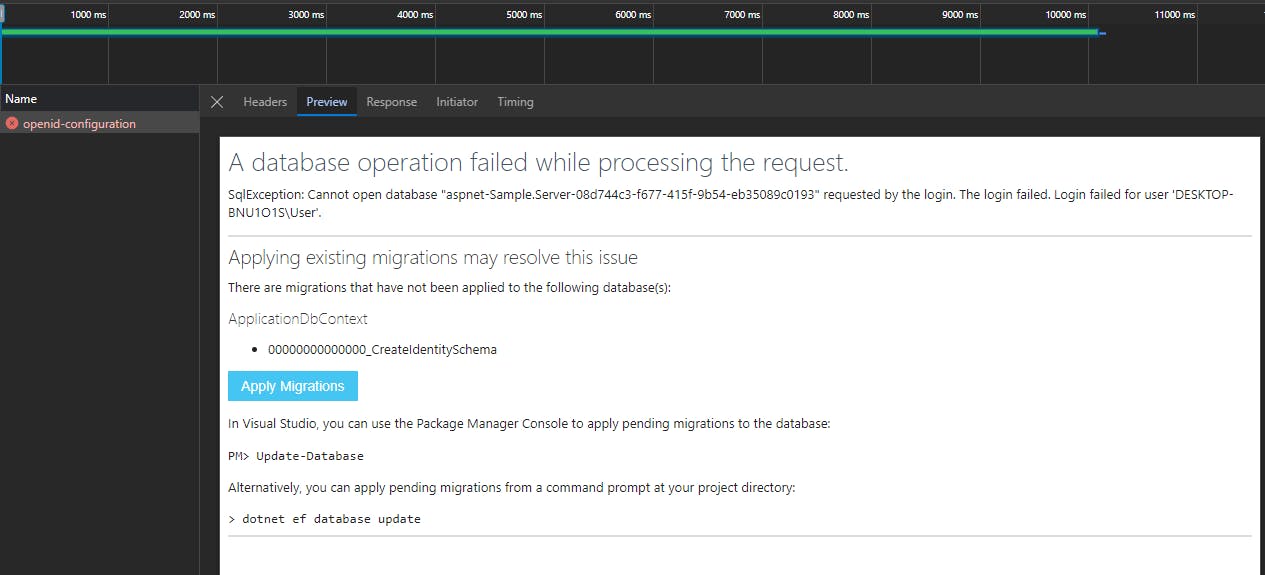
The response of this request is the suggestion to Apply Migrations page (which would create the necessary database in your local SQL database). The Preview in the browser's DevTool is just for demonstration and is not usable:
Go to Register, which would bring the pre-built Register page made by the Identity System. Try to create a new account:

This will also return the Apply Migration page after 20 seconds, which is usable now:

Proceed the Apply Migration, which completes after 20 seconds:

Viewing at the database, you would find the new database created:
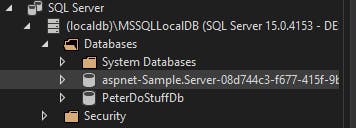
The User data table is null, which means we will need to redo the Register. But before doing so, now try accessing the Fetch Data page first to see any difference.
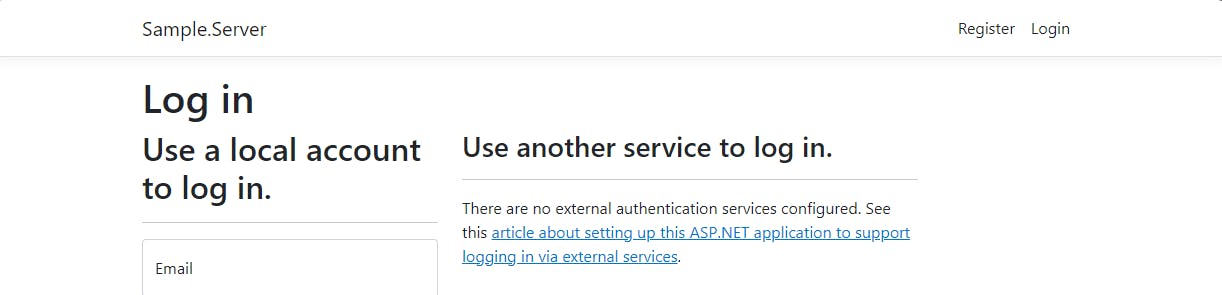
The Fetch Data page would redirect user to the Login page automatically instead of the 500 error response earlier:
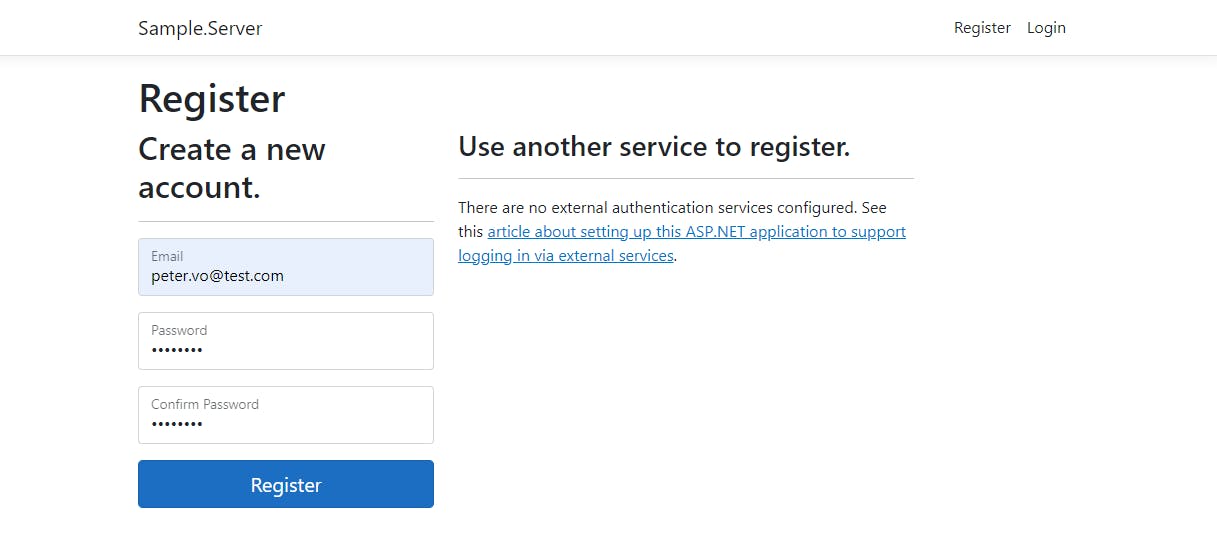
Visit the Register again, register a test account:
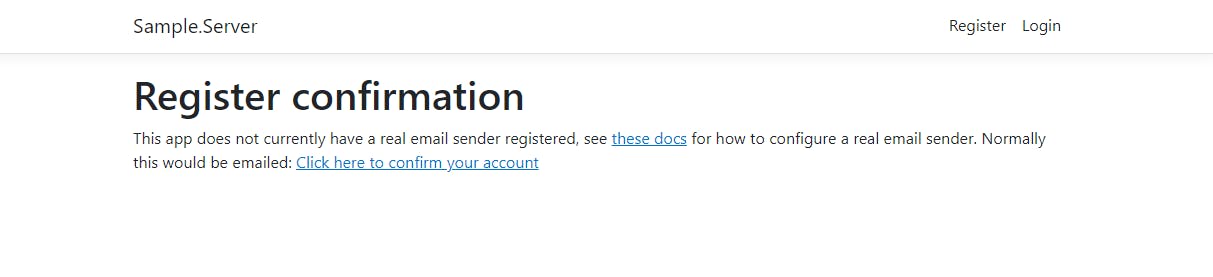
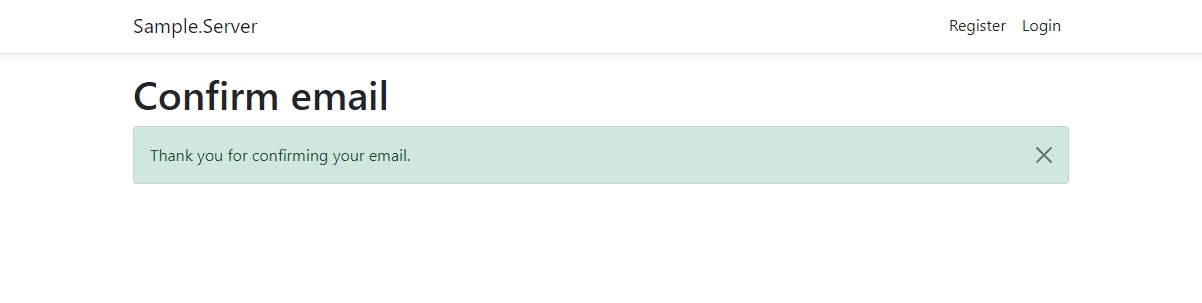
Since there is no email sender to make confirmation email, proceed to click on "Click here to confirm your account", which is the link that would send to the Confirmation email:
Email confirmed:
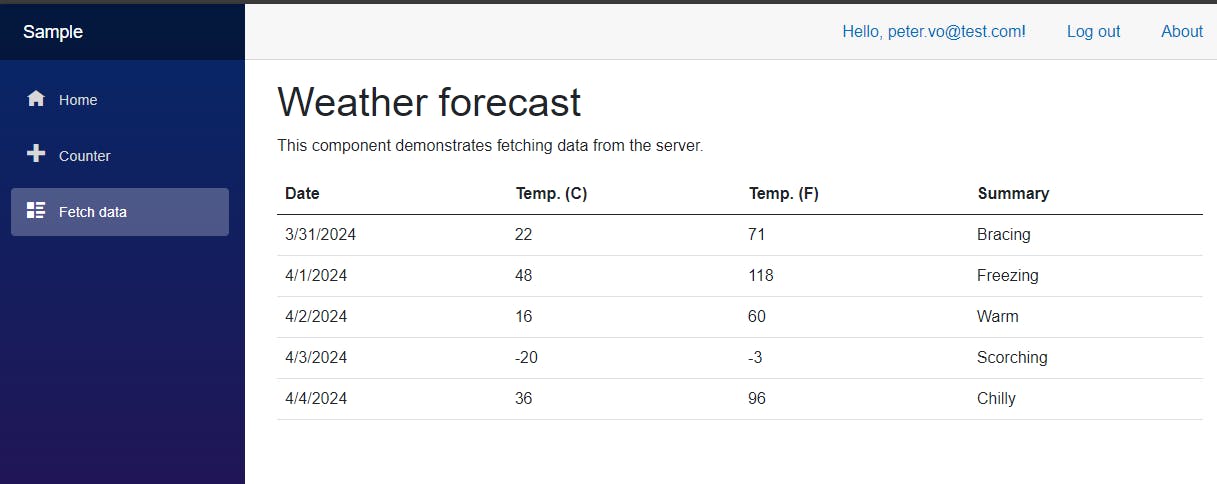
Proceed to login through the fetch data page:
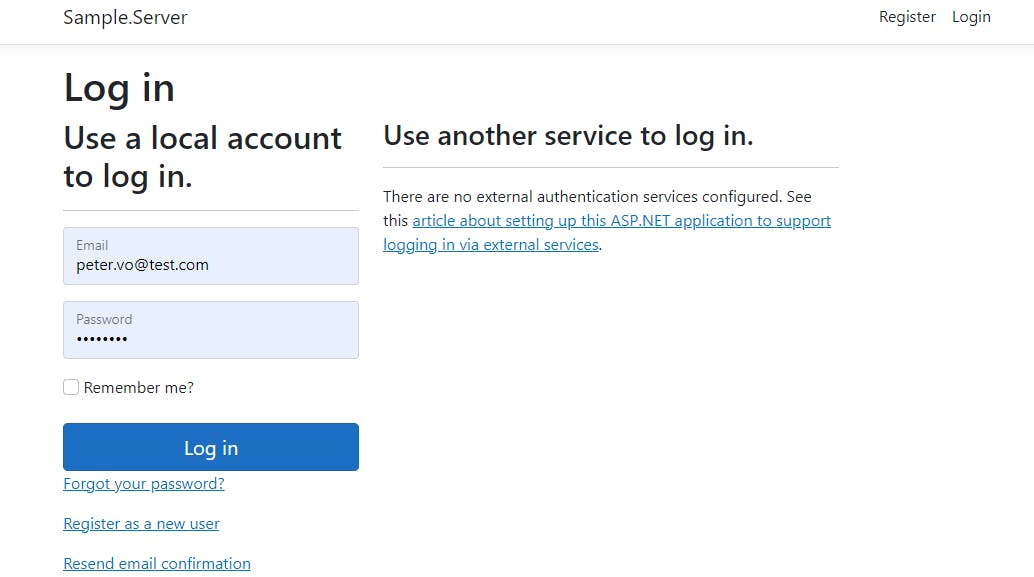
Notice that after logging in, the Fetch Data page is redirected immediately:
This is because when trying to the Fetch Data page without logging in first, the app would send an Api request authorize first, which would return 302 code (not found):

https://localhost:7195/connect/authorize
?client_id=Sample.Client
&redirect_uri=https%3A%2F%2Flocalhost%3A7195%2Fauthentication%2Flogin-callback
&response_type=code
&scope=Sample.ServerAPI%20openid%20profile
&state=8e5f00b7fef34a7d9f1b0c34045dc2ce
&code_challenge=Uix51bnt1ur00DRcUtGWHyjmag5at4RvLdQIhhMwKKk
&code_challenge_method=S256
&response_mode=query
It will then trigger the subsequent Login page redirect, whose Return Url is the authorize URL above:
https://localhost:7195/Identity/Account/Login
?ReturnUrl=%2Fconnect%2Fauthorize%2Fcallback%3Fclient_id%3DSample.Client%26redirect_uri%3Dhttps%253A%252F%252Flocalhost%253A7195%252Fauthentication%252Flogin-callback%26response_type%3Dcode%26scope%3DSample.ServerAPI%2520openid%2520profile%26state%3D8e5f00b7fef34a7d9f1b0c34045dc2ce%26code_challenge%3DUix51bnt1ur00DRcUtGWHyjmag5at4RvLdQIhhMwKKk%26code_challenge_method%3DS256%26response_mode%3Dquery
Proceed to Login will call the same Login API that returns 302 code (Not Found):
https://localhost:7195/Identity/Account/Login
?ReturnUrl=%2Fconnect%2Fauthorize%2Fcallback%3Fclient_id%3DSample.Client%26redirect_uri%3Dhttps%253A%252F%252Flocalhost%253A7195%252Fauthentication%252Flogin-callback%26response_type%3Dcode%26scope%3DSample.ServerAPI%2520openid%2520profile%26state%3D8e5f00b7fef34a7d9f1b0c34045dc2ce%26code_challenge%3DUix51bnt1ur00DRcUtGWHyjmag5at4RvLdQIhhMwKKk%26code_challenge_method%3DS256%26response_mode%3Dquery
Followed by the Callback that also has 302 code:
https://localhost:7195/connect/authorize/callback
?client_id=Sample.Client
&redirect_uri=https%3A%2F%2Flocalhost%3A7195%2Fauthentication%2Flogin-callback
&response_type=code
&scope=Sample.ServerAPI%20openid%20profile
&state=8e5f00b7fef34a7d9f1b0c34045dc2ce
&code_challenge=Uix51bnt1ur00DRcUtGWHyjmag5at4RvLdQIhhMwKKk
&code_challenge_method=S256
&response_mode=query
Finally, the Login-callback with 200 code:
https://localhost:7195/authentication/login-callback
?code=F1D141AADEC85A291407276BB3578B3A13AD25023411821E6BF089D7882E2B71-1
&scope=Sample.ServerAPI%20openid%20profile
&state=8e5f00b7fef34a7d9f1b0c34045dc2ce
&session_state=qW7FLNpDGWM2VRdtMJYreGTIqn-xpej-pge5fKHX8fg.1523C4ED6CAD8979871402EF82CE9E0D
&iss=https%3A%2F%2Flocalhost%3A7195
Take note that the same state value repeated: state=8e5f00b7fef34a7d9f1b0c34045dc2ce
4 API of openid-configuration, token, userinfo, and checksessionare called subsequently, with 200 code:
https://localhost:7195/.well-known/openid-configuration
https://localhost:7195/connect/token
https://localhost:7195/connect/userinfo
https://localhost:7195/connect/checksession
They all have the Cookie Header of.AspNetCore.Antiforgery.{long key}
What is more interesting is the userinfo API contains Authorization Header with Bearer {token value} , where the token value is from the response of token API.
Finally, the WeatherForecast API is made, with the same Authorization header as the userinfo. It's worth noting that testing with Postman found that Authorization token is necessary to get the positive results.
Testing on an old token resulting in the 401 code (Unauthorized).
Try stop the server, and rerun it. The working token can be re-used. It seems the token contains the information of expiry on its own.